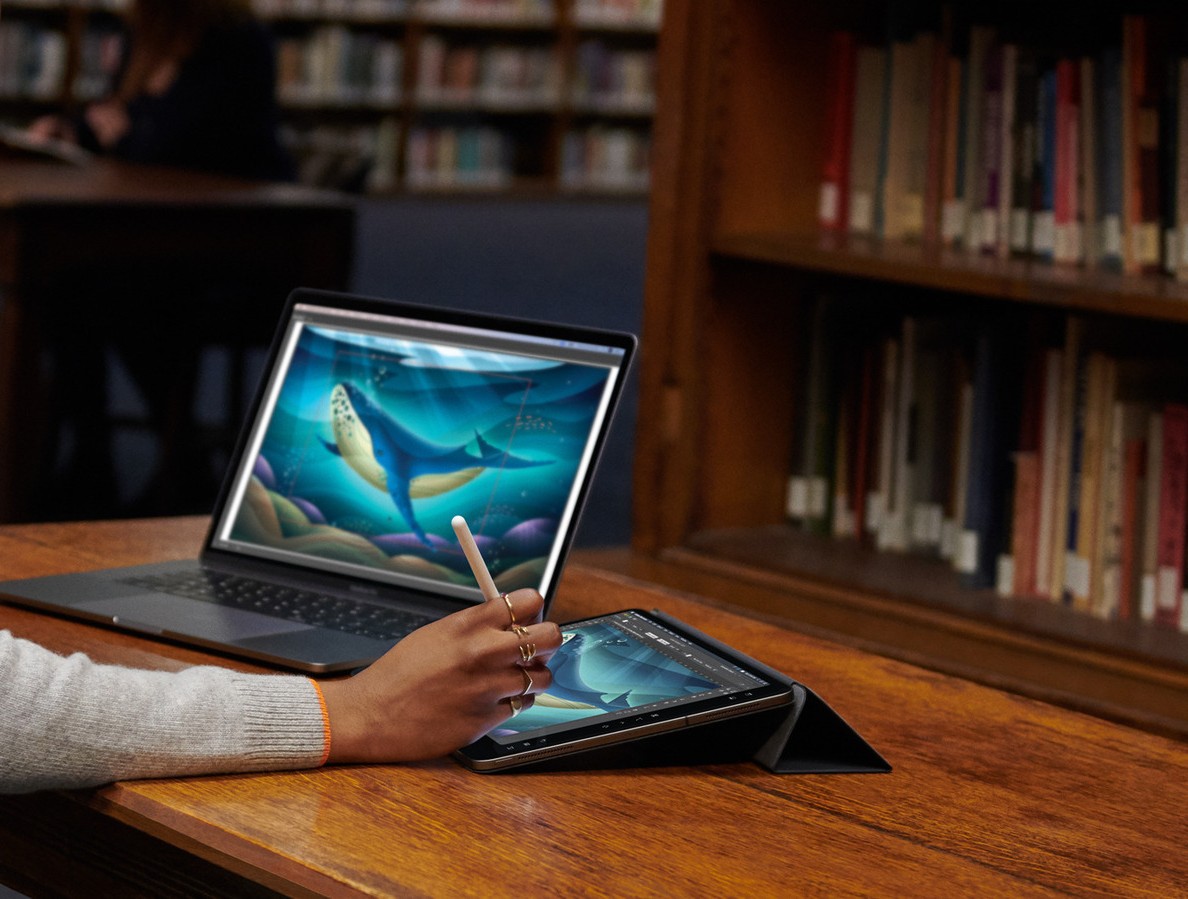
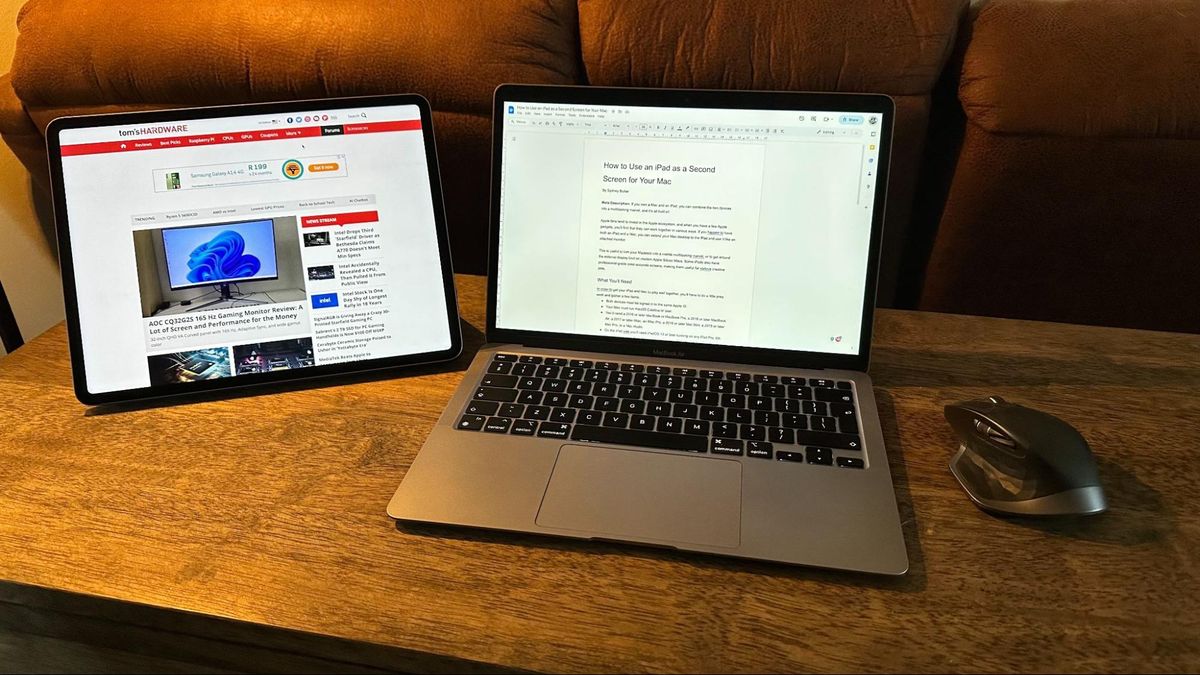
The Apple ecosystem has long been the gold standard for seamless integration between devices; while some see its high walls, productivity enthusiasts see a lush garden where devices connect with perfect fluidity. We have seen how you can mirror your iPhone screen to a Mac, and how the Continuity Camera allows you to use your phone as a professional webcam. But the most useful and cost-effective feature for daily work is Sidecar, which turns your iPad into an additional external display for your Mac with the click of a button, saving you from buying a separate desktop monitor for quick tasks and daily mobility.
Step One: Check Compatibility and Prepare Devices
Before you start moving your windows to the iPad screen, you need to ensure your hardware and operating system are compatible. Sidecar supports all iPad Pro generations, the 6th generation or later of the standard iPad, the 5th generation or later of the iPad mini, and the 3rd generation or later of the iPad Air. As for Macs, the feature works on 2015 iMacs, 2018 MacBook Airs or later, and all other Mac models released from 2016 onwards.
Software-wise, the iPad must be running at least iPadOS 13, and the Mac must be updated to macOS Catalina 10.15 or higher. Also, ensure that Wi-Fi and Bluetooth are enabled on both devices and that you are signed in with the same Apple Account. Another essential requirement is to enable the Handoff feature on both sides by following these steps:
-
On the iPad: Go to Settings, then General, choose AirPlay & Continuity, and enable the Handoff option.
-
On the Mac: Click the Apple menu in the top corner, choose System Settings, go to General, then AirPlay & Continuity, and enable the option to allow Handoff between this Mac and your iCloud devices.
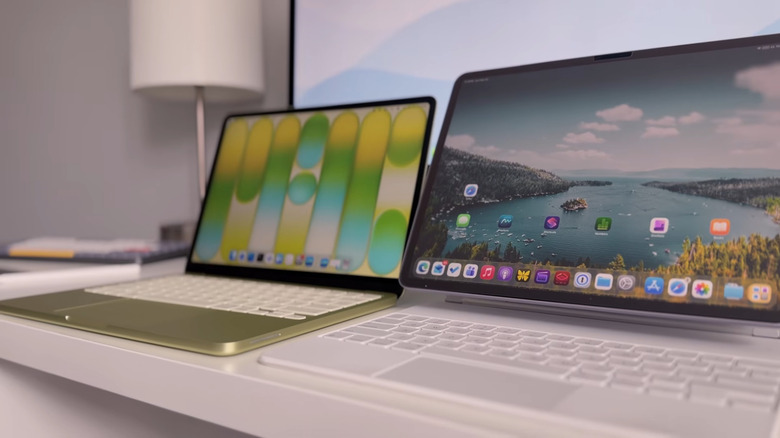
Apple provides two options for connecting the devices: wireless or wired. While wireless is very convenient, using a USB cable is the best and most stable method to prevent any latency, not to mention it is one of the best ways to utilize the USB-C port on the iPad for simultaneous charging and data transfer. All you need to do when connecting via cable is to tap the “Trust” button in the window that appears on the iPad screen.
Step Two: Activate Sidecar and Customize Your Workspace
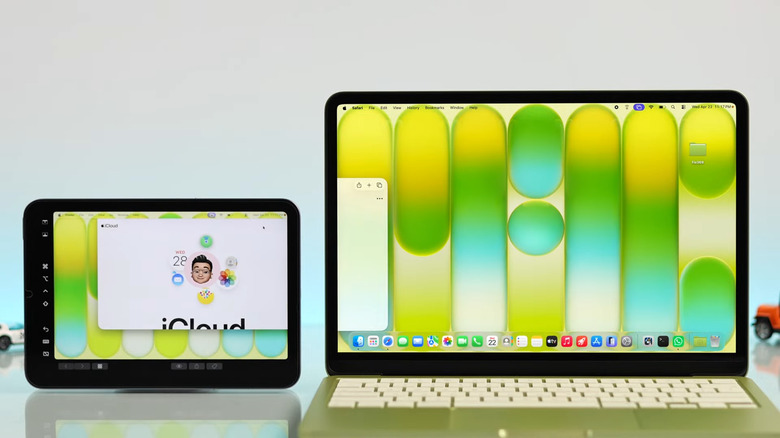
Once settings are complete, you are ready to start the additional display via a few steps within macOS:
-
Open the Control Center on the Mac menu bar.
-
Click the Screen Mirroring icon represented by two overlapping rectangles.
-
Select your iPad from the list of available devices.
-
To mirror the Mac screen content as is on the iPad, choose “Mirror Built-in Display”.
-
To extend your workspace and get an additional desktop, select “Use As Extended Display”.
-
You can hide the sidebar that appears on the iPad by clicking the “Hide Sidebar” option to maximize the displayed area.
-
To arrange the position of the screens geographically, go to the Displays section in Mac System Settings, click “Arrange”, then drag the iPad screen to the right or left according to its actual position next to your computer, then click Done.
Once the extended display is active, you can drag and drop any app or browser window directly into the iPad screen. To interact with elements, you can take advantage of familiar multi-touch gestures on the iPad; such as scrolling with two fingers, pinching with three fingers to copy and paste, or swiping with three fingers left or right to undo and redo actions.
When you finish your work and want to exit the Sidecar session, you can end it either from the iPad screen by tapping the Home button in the sidebar or swiping up (you can always return by tapping the blue Sidecar icon in the bottom Dock), or directly from the Mac by going back to the Control Center and clicking the iPad name in the Screen Mirroring section to stop streaming immediately.
Source:
Post Comment